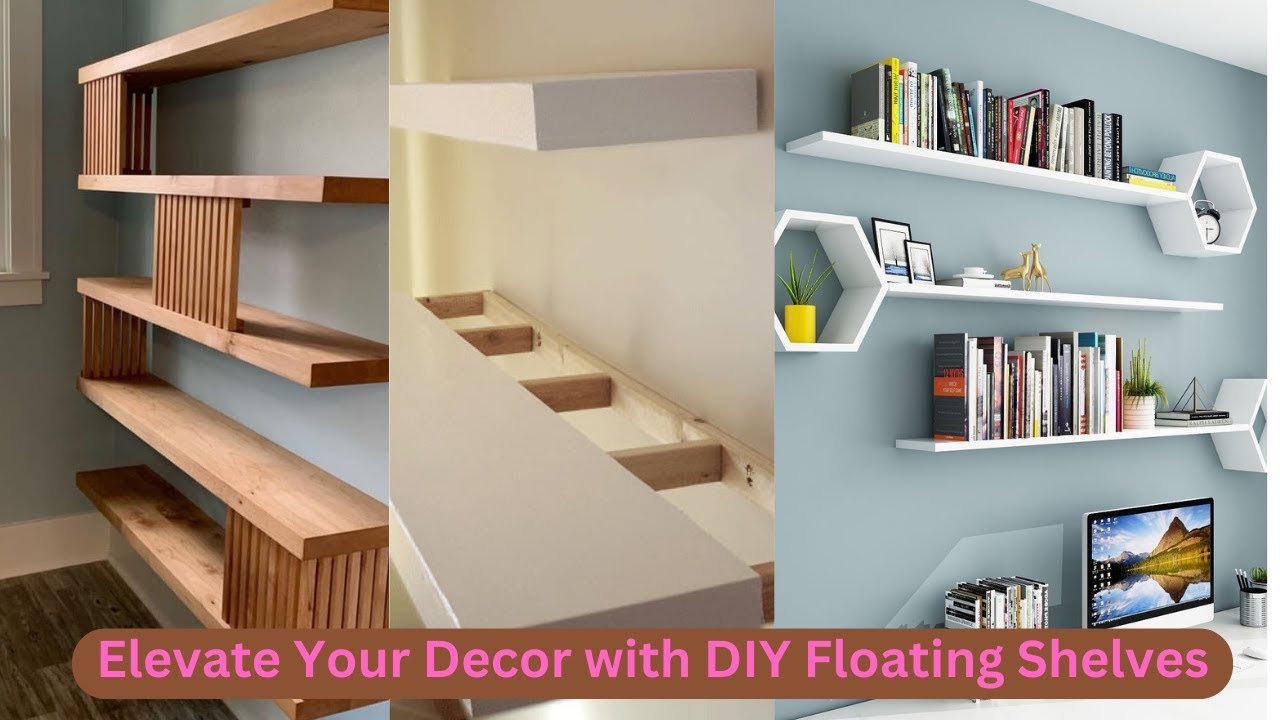
Wood Floating Shelves for Books: Make the Most of Wall Space
In the realm of interior design, maximizing space and enhancing aesthetics are paramount. Among the myriad solutions, wood floating shelves stand out as a versatile and stylish option, particularly for book lovers. These shelves offer a practical and visually appealing way to display and organize your literary treasures while adding a touch of warmth and elegance to any room.
The Allure of Wood Floating Shelves
Wood floating shelves possess an inherent charm that seamlessly blends with a diverse range of interior styles. The natural beauty of wood, whether it's the rich grain of oak, the rustic charm of pine, or the sleek sophistication of walnut, adds a touch of organic warmth and authenticity to any space. Their minimalist design, devoid of visible brackets or supports, creates an illusion of books floating effortlessly against the wall, enhancing the visual appeal and adding a sense of lightness and airiness to the room.
Advantages of Wood Floating Shelves
Beyond their aesthetic appeal, wood floating shelves offer a multitude of practical advantages:
Space Maximization
Floating shelves cleverly utilize often-overlooked wall space, maximizing storage capacity without encroaching on valuable floor area. This is particularly advantageous in smaller rooms or where floor space is at a premium. By suspending the shelves from the wall, you can free up floor space for other furniture or activities, creating a more open and spacious feel.
Versatility
Wood floating shelves are incredibly versatile and can be seamlessly incorporated into various rooms. They are ideal for displaying books in the living room, showcasing artwork in the dining room, organizing toiletries in the bathroom, or storing kitchen essentials in the pantry. The adaptability of these shelves allows you to tailor them to your specific needs and preferences, making them a truly functional and aesthetically pleasing addition to any space.
Easy Installation
Unlike traditional shelves that require bulky brackets and supports, floating shelves typically involve a simple and straightforward installation process. The shelves are usually mounted to the wall using concealed brackets or hidden supports, leaving a clean and uncluttered look. Depending on the type of wall and the weight of the shelves, installation may require basic DIY skills or professional assistance.
Customization
The world of wood floating shelves offers an array of customization options. You can choose from a wide variety of wood types, finishes, and sizes to perfectly match your existing décor or create a bold statement. Whether you prefer a natural wood finish, a painted or stained look, or a distressed aesthetic, there are endless possibilities to personalize your shelves and express your individual style.
Choosing the Right Wood Floating Shelves
Selecting the right wood floating shelves for your needs involves considering several factors:
Wood Type
Different wood types offer distinct characteristics that influence both the aesthetic and practical aspects of your shelves. For instance, oak is renowned for its durability and rich grain, while pine exudes a rustic charm and is more budget-friendly. Walnut is known for its sleek sophistication and dark, alluring grain, while maple offers a lighter, more contemporary feel. Consider the overall style of your room and your personal preferences when selecting the wood type.
Finish
The finish you choose can significantly impact the look and feel of your shelves. A natural wood finish accentuates the inherent beauty of the grain, while a painted finish provides a clean and modern look. Stained finishes add warmth and depth, while distressed finishes create a vintage or rustic aesthetic. The finish should complement the existing décor of your room and create a cohesive visual harmony.
Size and Shape
The size and shape of your shelves are crucial for ensuring proper functionality and visual balance. Measure the available wall space carefully to determine the appropriate size for your shelves. Consider the weight of the items you plan to display and the overall dimensions of the room. For instance, longer shelves are suitable for showcasing a collection of books, while shorter shelves are ideal for displaying smaller items.
Depth
The depth of your shelves will affect how much storage space you have. Shallow shelves are suitable for displaying smaller items or for adding a minimalist touch to the room. Deeper shelves provide more storage capacity for larger items, such as books or decorative objects. The optimal depth depends on the specific items you plan to store and the overall design aesthetic of your space.
Installation Tips for Wood Floating Shelves
Installing wood floating shelves is a relatively straightforward process that can be completed with basic DIY skills. However, proper installation is crucial for ensuring the safety and longevity of your shelves. Here are some helpful tips:
Preparation is Key
Before you begin installation, it's essential to prepare the area thoroughly. Clear any obstructions from the wall, such as wall art or fixtures. Mark the desired location of your shelves using a level, ensuring that they are straight and aligned.
Use the Right Tools
Use the appropriate tools for the job, including a drill, stud finder, level, tape measure, and a pencil. Choose drill bits that are suitable for the type of wall and the screws you are using.
Locate Studs
For maximum stability, it's essential to attach your shelves to wall studs whenever possible. Use a stud finder to locate studs and mark their positions on the wall. If you're unable to attach the shelves to studs, you can use specialized anchors designed for drywall.
Pilot Holes
Drill pilot holes before installing the screws to prevent splitting the wood. Pilot holes should be slightly smaller than the screw diameter.
Tighten Screws Gradually
Don't overtighten the screws, as this can damage the wood or the wall. Tighten the screws gradually and evenly to ensure a secure and stable installation.
Level and Align
Use a level to ensure that your shelves are straight and aligned before attaching them to the wall. If necessary, adjust the position of the brackets or supports until the shelves are perfectly level.
Styling Your Wood Floating Shelves
Once your wood floating shelves are installed, it's time to style them and showcase your personality. Here are some creative ideas for styling your shelves:
Create a Bookish Oasis
For book lovers, wood floating shelves provide the perfect opportunity to create a dedicated space for your literary treasures. Arrange your books by color, genre, size, or author to create a visually appealing and organized display. Incorporate bookends for added support and visual interest.
Showcase Your Artwork
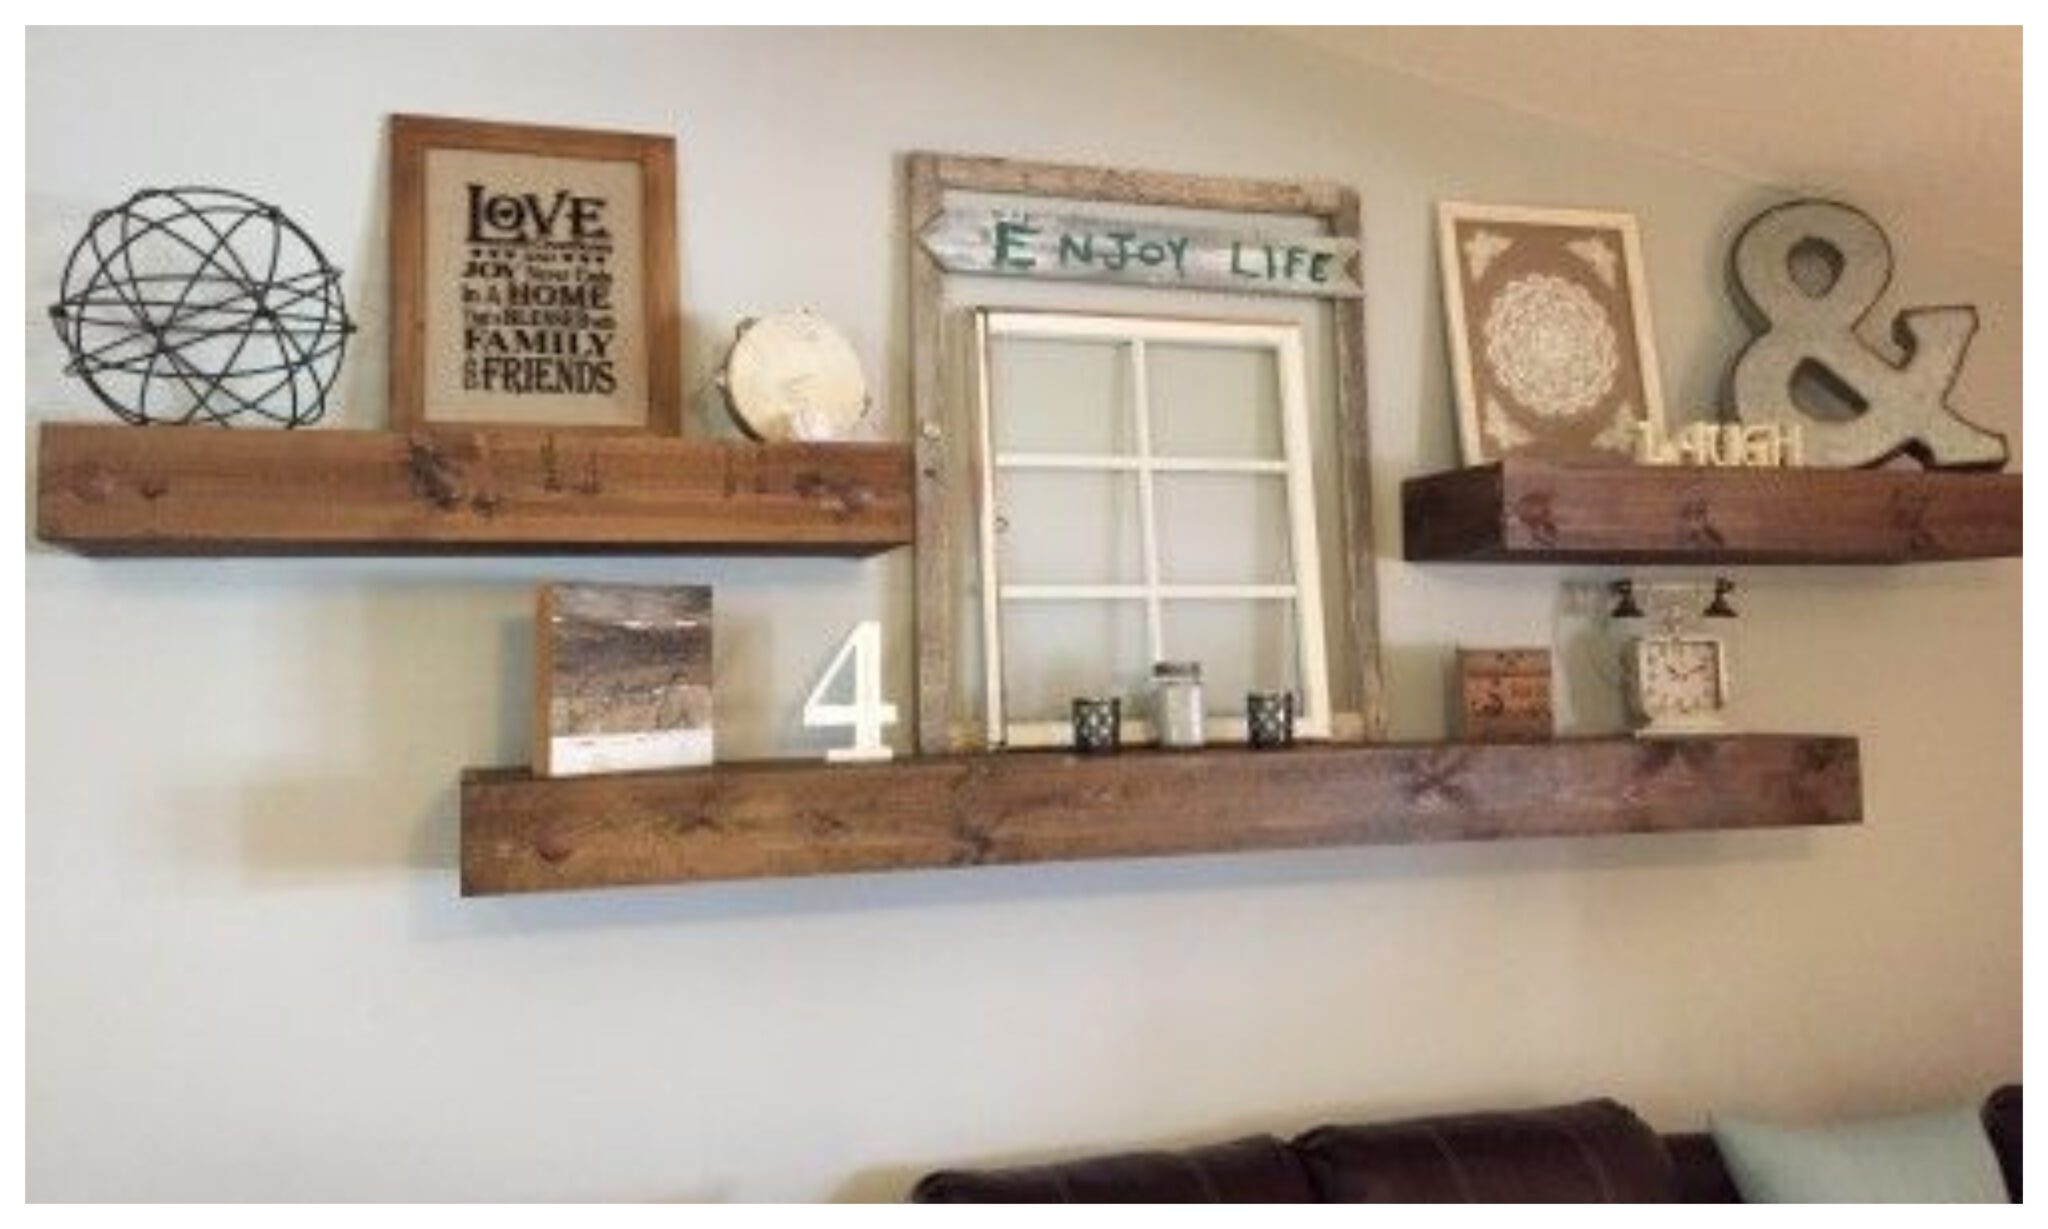
Wood floating shelves can be used to display artwork, photographs, and other decorative items. Arrange your artwork in a balanced and cohesive manner, using different sizes and frames to create visual interest. You can even incorporate plants or small sculptures for an eclectic and personalized touch.
Add a Touch of Green
Plants add life and vibrancy to any space. Place small potted plants or succulents on your shelves to create a natural and refreshing ambiance. Choose plants that thrive in the available light conditions and consider the size and weight of the pots when selecting plants for your shelves.
Incorporate Decorative Objects
Decorative objects, such as candles, vases, sculptures, and trinkets, can add personality and depth to your shelves. Arrange them in a balanced and aesthetically pleasing manner, using a mix of textures, colors, and materials to create a captivating display.
Wood Floating Shelves: A Timeless Investment
Wood floating shelves are a timeless investment that will enhance the beauty and functionality of your home for years to come. Their versatility, practicality, and enduring aesthetic appeal make them a popular choice for homeowners seeking to create a stylish and functional space. By carefully considering the wood type, finish, size, and shape of your shelves, you can create a bespoke solution that perfectly reflects your personal style and enhances the overall ambiance of your home. Whether you're a book lover, an art enthusiast, or simply looking for a way to maximize your wall space, wood floating shelves offer an elegant and practical solution that will transform your home into a sanctuary of style and sophistication.